
***The holiday has been exhausting. As a result, I have been a bit absent from the internet. Cooking and entertaining for 15 people does that to a person. And then there is the Nightmare before Christmas, otherwise known as Black Friday. Not for me! I was sound asleep in bed when others were pushing and shoving in order to get that deal. Anyway back by popular demand...the instructions for folding an origami star out of five one dollar bills.***
I am posting these instructions by request. Every Christmas I fold origami stars out of five one-dollar bills. Sometimes I leave them as tips in restaurants. Other times I give them as gifts with a string attached for hanging on the tree. Most people love them and think they are complicated to create, but if you can fold a paper airplane you can fold an origami dollar star. You can make them using one dollar bills but if you feel generous you can certainly make them with fives, tens, twenties, fifties…well you get the picture. A chopstick, butter knife or skewer makes it easier to tuck the pieces together.
1. Lay a dollar bill with the ONE facing up on the table and fold it in half lengthwise.


2. Open the fold and fold the top corner to the fold line. Repeat on the other side.


3. Turn the bill so the point is facing you. Fold the point up to the edge of the circle on the fold line.
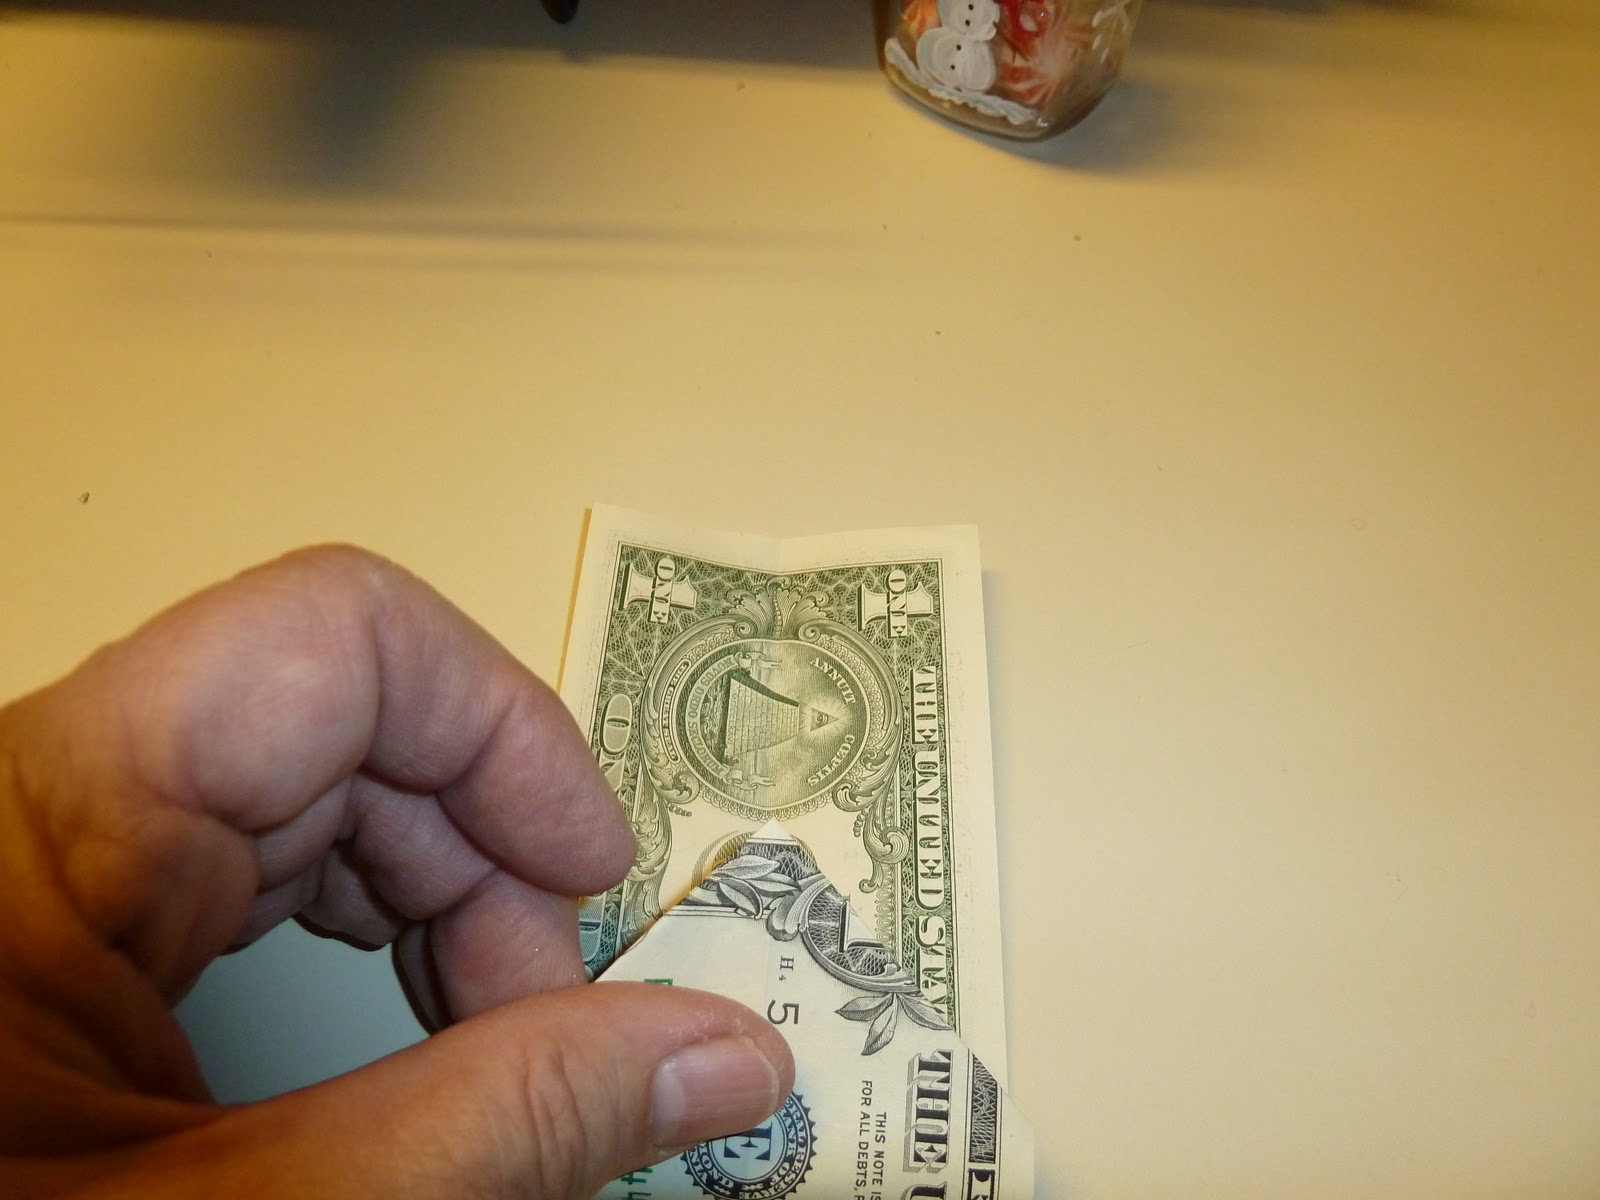
4. Turn over so the folded edge is at the top. Fold the right hand corner to the center fold line. Fold again.


(Just like you are making a paper airplane.) Repeat on the other side.
5. Turn over. You have made a pointed flap. Take the bottom edge and fold up under the flap. Fold it again under the flap and repeat it a third time. You now have a star point with a tab on each side. The front will be the one with the flap and the back has a pocket.


6. Make four more star points for a total of five.

7. To assemble start from the back. Tuck one of the folded tabs into the back pocket of another. Then tuck the front tab under the flap on the front.


8. Repeat this around for all the points. The last one is the hardest but with the help of a chopstick you can easily tuck it in. It stays together nicely.
9. Of course if you want to spend the money it’s easy to unassemble and spend!
 |
| front of point |
 |
| back of point |
 |
| back of star |
Easy, easy and so much fun! It is best to use crisp, new one dollar bills to fold since it makes a sturdier star. You can easily ask your bank for new dollar bills and have fun, believe me... "you can't make just one!"
2 comments:
What a wonderful idea for leaving a tip, Crystal. I bet grandkids would love them too. Enjoy your trip and visit with relatives. Stay safe and we'll all look forward to hearing all about your trip. Blessings!
Wow, this is a cool idea! I don't know if I can do it! LOL! But, I might try ;o)
Post a Comment